How to Embroider with Satin Stitch: A Step-by-Step Guide for Beginners
Contents
- 1 What Is Satin Stitch Embroidery?
- 2 Essential Tools for Perfect Satin Stitch
- 3 Step-by-Step Satin Stitch Tutorial
- 4 Common Mistakes & How to Fix Them
- 5 FAQ
- 5.0.1 Can I do satin stitch on a T-shirt without stabilizer?
- 5.0.2 Will satin stitch survive the washing machine and dryer?
- 5.0.3 How do I transfer a satin stitch design onto black fabric?
- 5.0.4 How long does a small satin stitch monogram (1–2 in) actually take?
- 5.0.5 Is satin stitch worth it for clothing logos, or should I use machine embroidery?
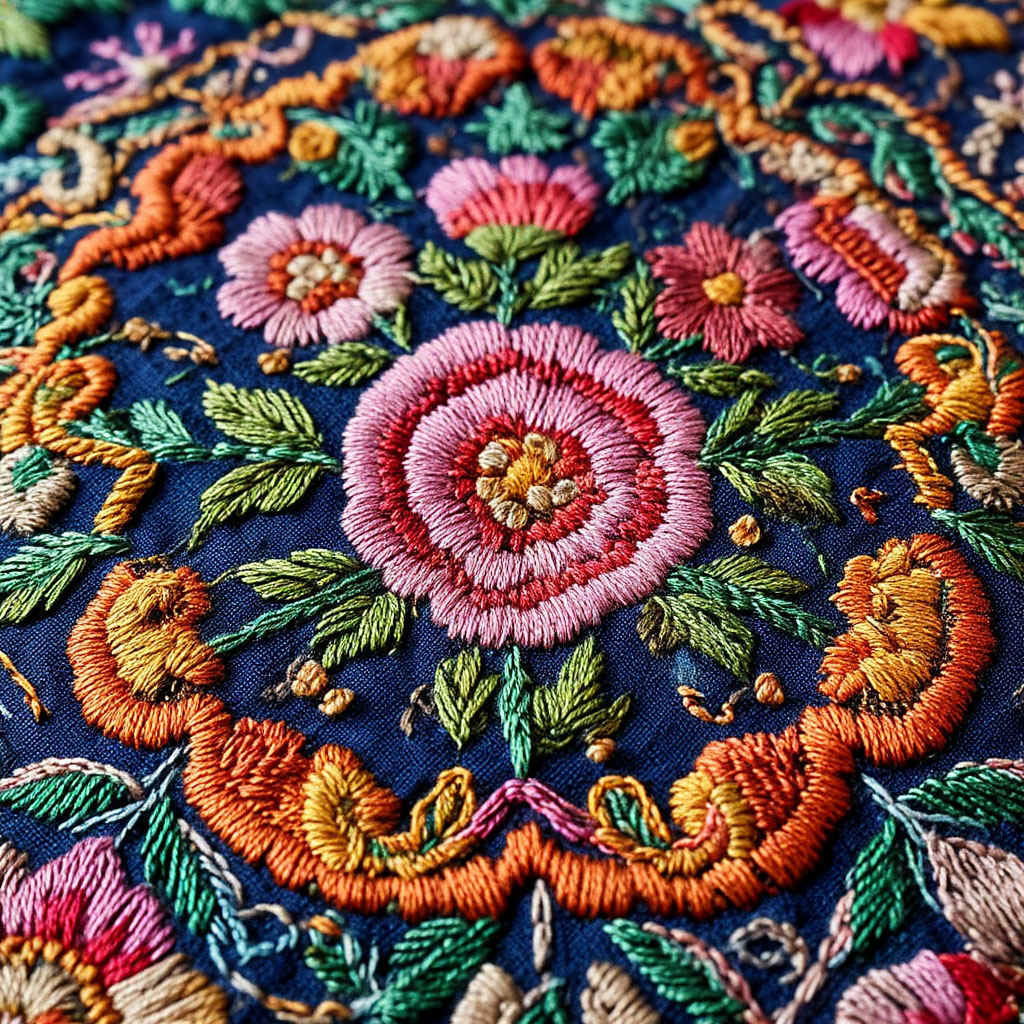
Satin stitch embroidery creates wonderfully smooth, colored surfaces that are perfect for realistic designs. Unlike textured embroidery stitches, it is possible to create a flawless finish that is perfect for florals and intricate patterns. Those who learn to embroider satin stitch find that its meditative rhythm produces stunning artistic results.
Historically significant across cultures, satin stitch embroidery adorned imperial silks and religious fabrics. Although silk remains the best thread for satin stitch embroidery, modern embroiderers achieve excellent results with quality cotton thread. Contemporary satin stitch patterns embrace traditional botanical and abstract designs.
When compared to other types of embroidery, the benefits of this technique are obvious. It can create unrivaled color gradients and photorealistic effects, especially when combined with textured stitches for dimensional contrast. Mastering satin stitch requires constant tension and strategic placement of stitches. Beginners may find it easier to work with printed satin stitch patterns to develop the technique.
The best satin stitch thread combines shine, durability, and cost. While silk offers unrivaled shine, mercerized cotton provides affordable quality. The choice of needles also matters — sharper tips are better for heavier fabrics. Today’s digital patterns help artists perfect the intricate shading in satin stitch.
Satin stitch is more than just a technique — it’s a soothing creative practice. Its rhythmic stitching process combined with its captivating results explains its enduring popularity among satin stitch artists worldwide. By the end of this article, you’ll be able to download a checklist — a clear, step-by-step guide to mastering satin stitch with confidence.
What Is Satin Stitch Embroidery?
Satin stitch embroidery represents a timeless needlework technique where closely packed stitches create a smooth, lustrous surface on fabric. Unlike gridded techniques like cross-stitch, satin stitch embroidery allows complete artistic freedom with organic shapes and flowing lines. This method transforms ordinary thread into remarkable artwork through its signature polished finish.
Characteristics of Satin Stitch Embroidery
The technique’s distinctive features include complete fabric coverage where stitches lie flush against each other, multidirectional stitching that follows contours naturally, and variable stitch lengths accommodating complex designs. Skilled practitioners achieve stunning color gradients through specialized blending methods.
Varieties of Satin Stitch Techniques
Flat satin stitch creates uniform surfaces with parallel stitches, while shaded satin stitch produces photorealistic effects through tonal transitions. Whitework satin stitch employs white threads on white fabric for delicate texture, and glossy satin stitch mimics reflective surfaces through strategic stitch placement. Traditional styles like Russian satin stitch incorporate openwork elements within dense stitching.
Comparative Advantages
When examining satin stitch vs other embroidery stitches, several distinctions emerge. Unlike pixel-based cross-stitch, satin stitch embroidery flows freely without grid constraints. Compared to ribbon embroidery, it achieves finer detail, and versus beadwork, it creates seamless color fields without visible breaks.
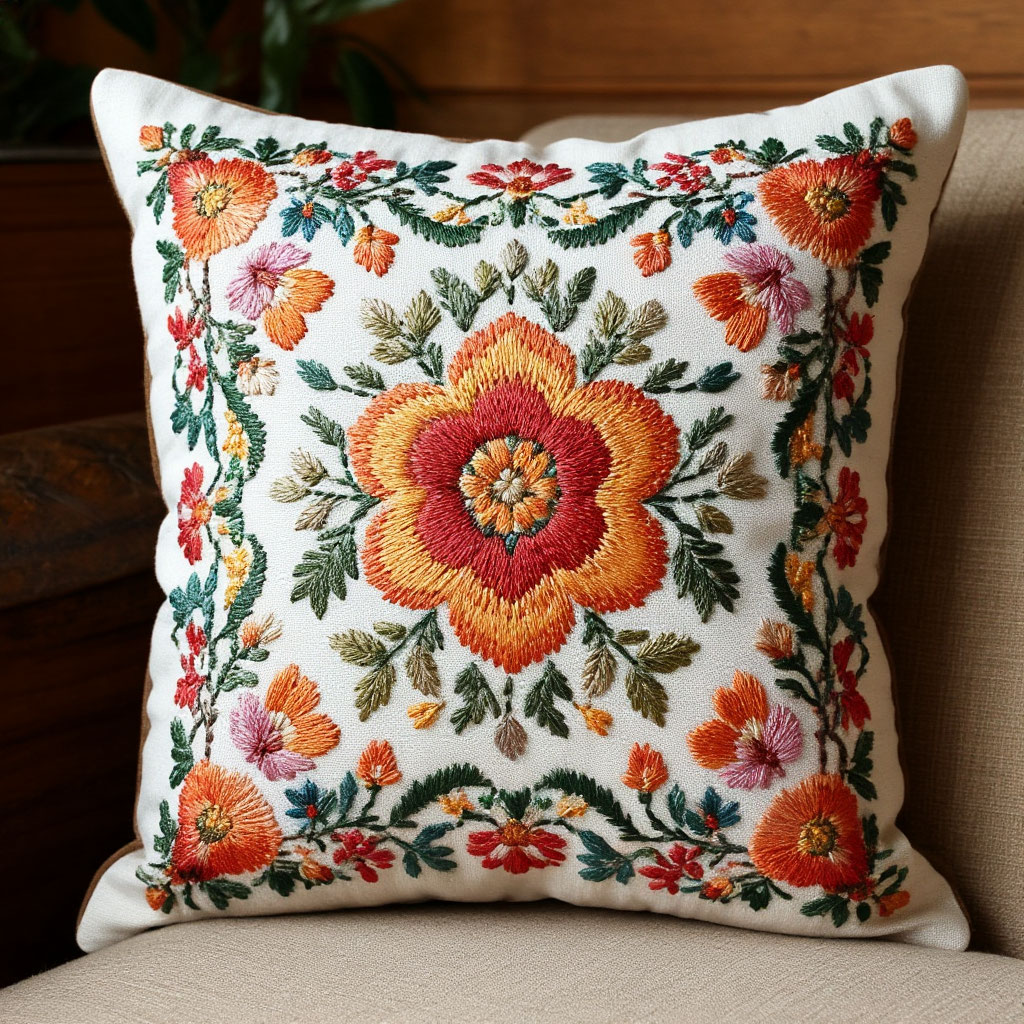
Versatile Applications
Satin stitch embroidery enhances various projects including garment embellishments (collars, cuffs), framed textile art, home décor items (table linens, cushions), and fashion accessories (purses, hair ornaments). The technique particularly shines when rendering botanical subjects, animal portraits, architectural details, and abstract compositions.
Learning Progression
Beginners exploring how to do satin stitch should start with fundamental exercises – individual floral elements or geometric shapes. These foundational projects help master essential techniques before attempting complex designs. Quality materials make a significant difference, with the best thread for satin stitch being tightly twisted cotton or silk for optimal coverage.
Pattern Selection
Modern satin stitch embroidery patterns range from traditional motifs to contemporary designs, available as printed templates or digital downloads. Starting with simpler patterns helps build confidence before progressing to intricate compositions requiring advanced shading techniques.
Artistic Rewards
The meditative process of satin stitch embroidery yields stunning results through patience and practice. While initial attempts may show imperfections, each completed project demonstrates noticeable improvement. The technique’s ability to create painterly effects makes it uniquely rewarding among needle arts.
Essential Tools for Perfect Satin Stitch
Quality satin stitch embroidery requires carefully selected materials that differ from other needlework supplies. Each component plays a crucial role in achieving that signature smooth, polished finish. Professional embroiderers know that investing in proper tools makes learning how to do satin stitch much easier and more enjoyable.
Fabric Foundations
The ideal fabric for satin stitch embroidery should have:
- Tight, even weave for smooth stitch placement
- Medium weight (200-300 g/m²) for stability
- Natural fibers like cotton or linen for best results
For beginners, cotton satin offers perfect balance of affordability and workability. Advanced stitchers might explore:
- Linen-cotton blends for traditional looks
- Pure silk for luxury projects
- Evenweave fabrics for precise stitching
Thread Selection Guide
The best thread for satin stitch depends on the project:
- Cotton floss (DMC/Anchor) – ideal for practice and everyday projects
- Silk threads – create luminous, professional-quality shine
- Metallic floss – adds decorative accents when used sparingly
- Variegated threads – produce automatic color gradients
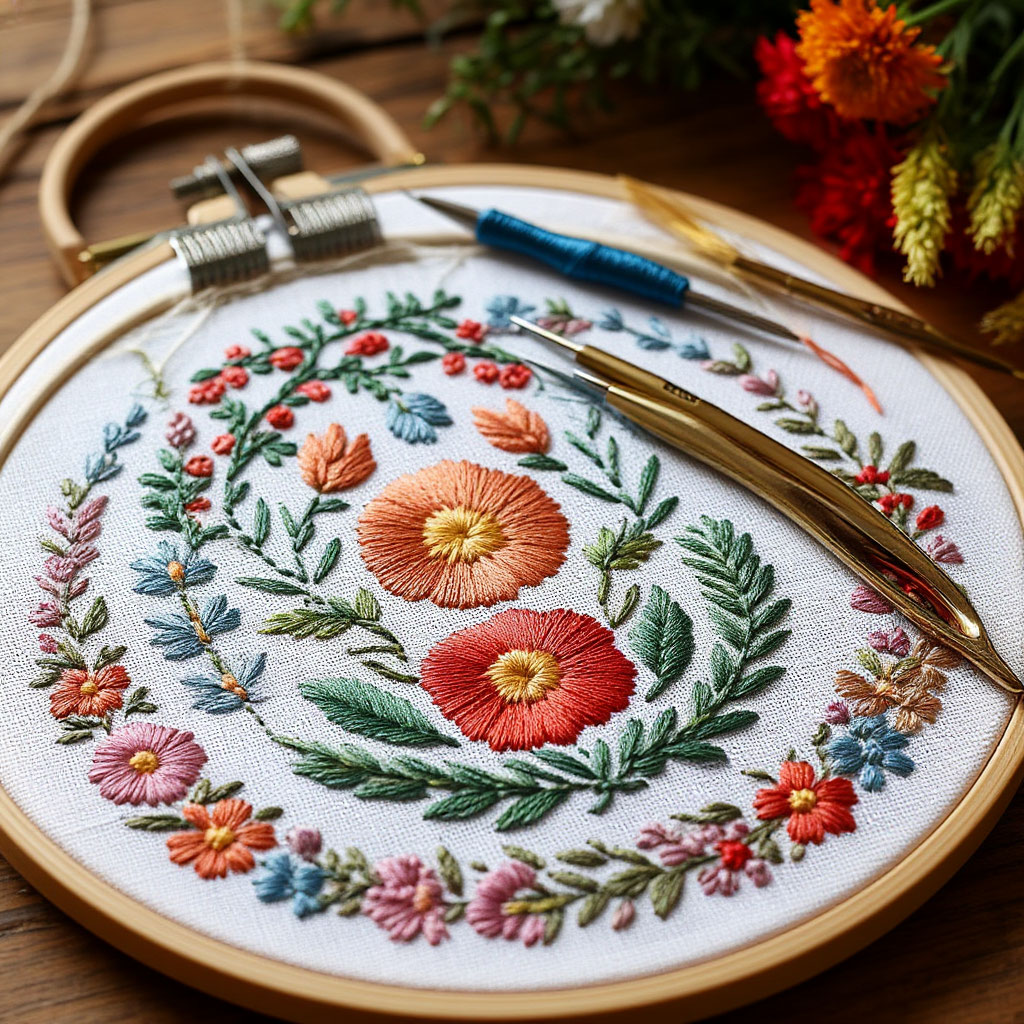
Essential Equipment List
Every satin stitch embroidery kit should include:
- Hoops & Frames – Wooden embroidery hoops (15-20cm) for beginners, scroll frames for large projects
- Needles – Sharp embroidery needles (sizes 3-9) with comfortable eyes
- Marking Tools – Water-soluble pens and dressmaker’s carbon paper
- Cutting Tools – Precision scissors for threads and fabric shears
- Magnification – Embroidery magnifier for detailed work
Comparing Satin Stitch vs Other Embroidery Stitches
While many embroidery techniques share basic tools, satin stitch embroidery demands particular attention to:
- Needle sharpness – sharper than cross-stitch needles
- Thread quality – higher twist counts than general embroidery floss
- Fabric stability – tighter weave than crewel work fabrics
- Tension control – more critical than in freestyle embroidery
Recommended Starter Kit
Those new to satin stitch embroidery patterns should begin with:
- 30cm square of cotton satin fabric
- Basic 15cm wooden hoop
- 20-skein set of quality cotton floss
- Assorted embroidery needles (sizes 5-7)
- Small sharp scissors
- Water-soluble marker
This affordable setup (under $20) provides everything needed to practice basic satin stitch techniques before investing in specialty materials. As skills progress, embroiderers can explore luxury threads and professional-grade tools to enhance their work.
Remember that quality tools don’t just improve results – they make the process of learning how to do satin stitch more enjoyable. Poor-quality materials fight against the stitcher, while good tools become natural extensions of creative vision. When comparing satin stitch vs other embroidery stitches, the importance of proper equipment becomes especially clear – this technique simply won’t shine without the right foundation.
Step-by-Step Satin Stitch Tutorial
Learning satin stitch embroidery requires a methodical approach. This guide covers the entire process from preparation to finishing touches for creating beautiful embroidered pieces.
Preparation Stage
Before beginning any satin stitch embroidery project, proper material preparation is essential. Beginners should select medium-weight cotton satin or linen, cutting the fabric with 5-7 cm extra on each side. Finishing the edges prevents fraying during embroidery.
There are several methods for transferring designs:
- Carbon paper for simple patterns
- Water-soluble markers for most projects
- Window tracing for complex designs
When mounting fabric in hoops, ensure even tension without distortion for optimal satin stitch results.
Fundamental Techniques
Mastering basic satin stitch embroidery techniques begins with learning to secure thread without knots. The loop method or small anchoring stitches work best for clean starts.
Three essential stitches form the foundation:
- Basic satin stitch – For solid fill areas
- Stem stitch – Creates smooth outlines
- Seed stitch – Adds delicate texture
For perfect satin stitches:
- Insert needles vertically
- Maintain 0.3-0.7 cm stitch length
- Keep stitches flush against each other
Embroidering Design Elements
Every satin stitch embroidery project starts with outlines. Use stem stitch with slightly darker thread than the fill color. When filling areas:
- Follow the element’s natural contours
- Work from center outward
- Maintain consistent stitch direction
Advanced techniques for dimensional effects include:
- Gradient shading with multiple hues
- Tonal satin stitch variations
- Strategic stitch length adjustments
Practical Tips for Success
Optimal working conditions improve satin stitch embroidery results:
- Use 40-50 cm thread lengths to prevent tangling
- Position dominant hand above, support hand below the hoop
- Avoid excessive tension in hands and stitches
Beginners should practice with simple shapes like leaves or berries before attempting complex satin stitch embroidery patterns. These foundational projects build skills without frustration.
Finishing Your Work
Professional finishing elevates satin stitch embroidery:
- Secure all threads invisibly
- Steam press from the reverse side
- Mount on acid-free backing or frame
Each completed project demonstrates noticeable improvement in satin stitch technique. While mastering how to do satin stitch takes practice, the creative satisfaction makes the process rewarding.
Common Mistakes & How to Fix Them
Satin stitch embroidery requires precision and patience, presenting unique challenges for both beginners and experienced stitchers. Understanding these common issues helps embroiderers perfect their satin stitch technique and create flawless finished pieces.
Fabric and Tension Considerations in Satin Stitch
Proper fabric tension makes the difference between amateur and professional-looking satin stitch embroidery. Many beginners struggle to find the balance – too loose creates uneven stitches while too tight distorts the fabric. For optimal satin stitch results, the fabric should be drum-tight but still retain slight flexibility.
When learning how to do satin stitch embroidery properly, using quality hoops prevents fabric warping. Wooden embroidery hoops with smooth edges provide the best tension control for satin stitch work. Rotating the project periodically prevents permanent creases that can affect stitch quality.
Perfecting Satin Stitch Techniques
The hallmark of beautiful satin stitch embroidery lies in perfectly even stitches. Common problems include:
- Inconsistent stitch lengths
- Visible fabric between stitches
- Uneven thread tension
These issues often stem from incorrect needle angle (always enter vertically) or using inappropriate materials. When comparing satin stitch vs other embroidery stitches, the need for precision becomes especially apparent.
For smooth coverage in satin stitch embroidery patterns:
- Use the best thread for satin stitch – tightly twisted cotton or silk
- Maintain consistent stitch direction
- Keep stitches close without overlapping
Color and Design Solutions
Choosing colors presents another challenge in satin stitch embroidery. Beginners often create harsh transitions where smooth gradients would be more effective. Studying color theory helps when planning satin stitch embroidery patterns.
Professional tips for color success:
- Test combinations on fabric scraps first
- Use similar value colors for smooth shading
- Consider fabric color when selecting threads
Thread Troubleshooting
Thread problems can ruin otherwise excellent satin stitch embroidery. The best thread for satin stitch minimizes these common issues:
- Thread twisting (let needle dangle periodically)
- Breakage (avoid pulling too tightly)
- Color bleeding (always test threads first)
When comparing satin stitch to other stitches, the quality of the thread is more important due to the dense coverage of the technique.
Mastering the basic techniques opens up new creative dimensions to satin stitch. Artists move on to working with high-quality materials such as silk threads and linens, while exploring specialty options including metallic thread and wool blends. Moving on to more complex work involves mastering tonal hatching techniques that create painterly effects with the thread.
Historical collections and nature itself are endless sources of inspiration for satin stitch patterns. Contemporary exhibitions showcase innovative applications, showing how satin stitch stands out from other embroidery stitches to create fluid, blended effects. Botanical references prove especially valuable when learning how to do satin stitch with realistic hatching.
FAQ
Can I do satin stitch on a T-shirt without stabilizer?
No. Knit fabric stretches and makes satin stitch tunnel or pucker. Use cut-away or fusible mesh stabilizer, hoop it drum-tight, and keep stitches short. Prewash the shirt.
Will satin stitch survive the washing machine and dryer?
Yes, if you prep right. Prewash fabric, test colorfastness, and secure thread tails. Wash cold, inside-out, gentle cycle. Air-dry or tumble low; high heat can fuzz stitches.
How do I transfer a satin stitch design onto black fabric?
Use white dressmaker’s carbon, a chalk pencil, or a light-colored heat-erasable gel pen. For crisp lines, print on water-soluble stabilizer, stitch through it, then rinse away.
How long does a small satin stitch monogram (1–2 in) actually take?
Plan 45–90 minutes for a beginner. Simple block letters are faster; serifs and curves add time. Hooping and transfer add ~15 minutes. Padded satin can double the total.
Is satin stitch worth it for clothing logos, or should I use machine embroidery?
For one item, hand embroidery is low-cost but time-heavy. For multiples, machine embroidery wins on speed and durability. Choose hand for texture; machine for consistency.
Here’s a clear step-by-step guide to satin stitch embroidery that will help you become familiar with all the specifics of the technique. Before filling, pay attention to hand positioning and separation.
The current revival highlights the versatility of satin stitch in fashion, therapy, and fine art. Professionals appreciate how the finest satin stitch thread can create gallery-quality textile art. The technique’s unique ability to seamlessly transition colors sets it apart from other techniques. Improving your satin stitch skills can be achieved through constant practice and experimentation. Each project builds technical confidence and develops an individual style. The meditative process rewards patience with both beautiful results and personal satisfaction. You can now download a satin stitch checklist — a practical tool to help you practice, refine your technique, and create embroidery pieces with a polished finish.